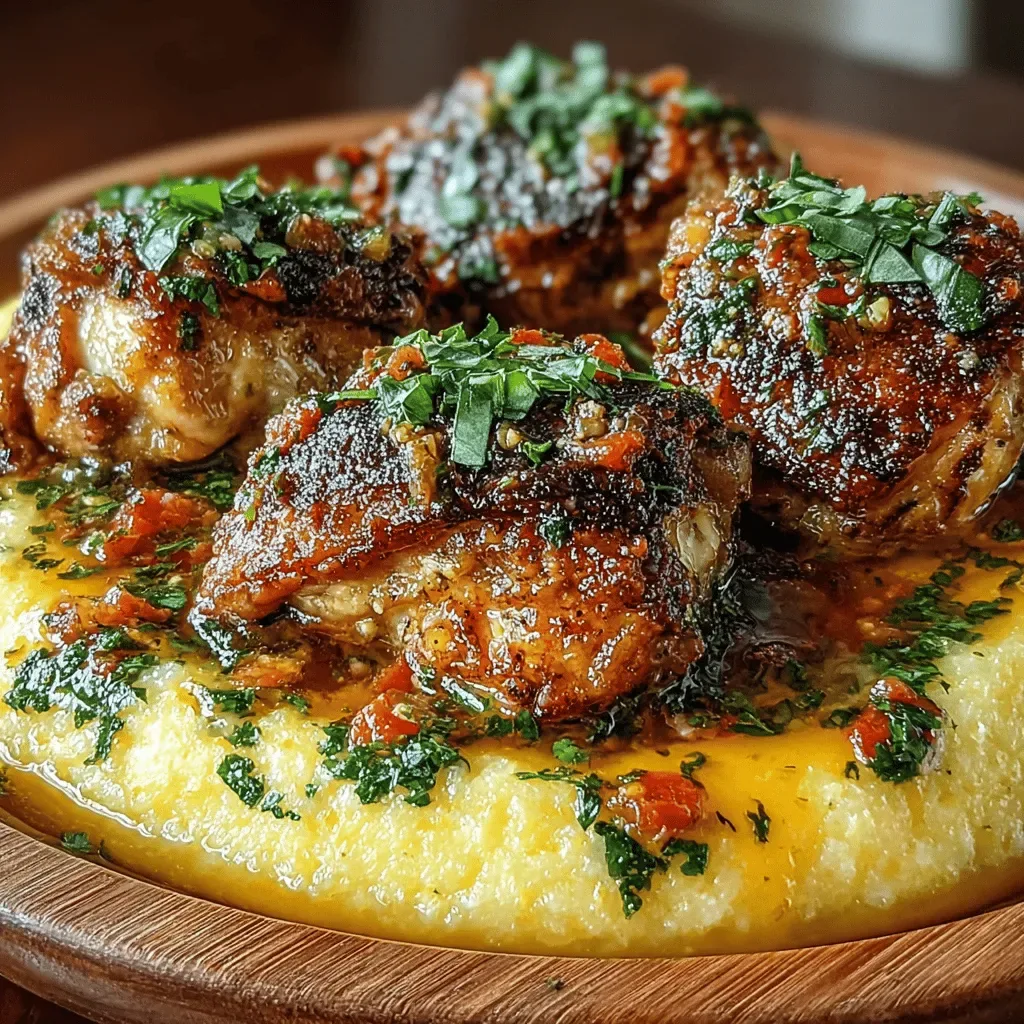
It was a crisp autumn afternoon, the kind where the wind whispers through the golden leaves and the kitchen fills with the comforting hum of the oven preheating. I was standing at the counter, a half‑finished bowl of cauliflower florets waiting to be transformed, when my grandmother’s voice drifted from the living room, reminding me of the “golden fritters” she used to make for Sunday gatherings. The moment I lifted the lid on the pot, a cloud of fragrant steam rose, carrying hints of garlic, fresh scallions, and the earthy scent of cauliflower that made my mouth water instantly. That memory sparked the idea for a recipe that feels both nostalgic and brand‑new, and I’m thrilled to share it with you today.
Imagine the sizzle of a hot pan, the gentle crackle as a spoonful of batter meets the oil, and the golden crust that forms in seconds, sealing in a tender, buttery interior. The first bite offers a satisfying crunch followed by a burst of mellow cauliflower flavor, brightened by the aromatic punch of garlic and scallions. It’s the kind of dish that makes you pause, close your eyes, and savor the simple joy of a well‑executed comfort food. What’s even better? It’s versatile enough to serve as a snack, a side, or a main course when paired with a fresh salad or a dollop of cool yogurt.
You might be wondering why this particular fritter stands out among the countless vegetable patty recipes you can find online. The secret lies in the balance of texture and flavor: a light, airy batter that clings to the cauliflower without drowning it, a touch of whole‑wheat flour that adds a nutty depth, and the gentle richness of olive oil that elevates every bite. But wait—there’s a hidden trick in step four that will make your fritters unbelievably fluffy, and I’ll reveal it later in the process. Trust me, once you master that, you’ll never look back.
Beyond the sensory delights, these fritters are a celebration of wholesome ingredients that you probably already have in your pantry. They’re quick enough for a weekday dinner, yet impressive enough to serve at a dinner party where guests will be asking for the recipe. And because they’re baked or pan‑fried rather than deep‑fried, you can enjoy them without the guilt that usually follows indulgent appetizers. The best part? They’re incredibly forgiving—if you have a surplus of cauliflower or a few extra scallions, this is the perfect dish to put them to good use.
So, are you ready to bring a little magic to your skillet? Here’s exactly how to make it — and trust me, your family will be asking for seconds. Grab your apron, gather the ingredients, and let’s dive into a cooking adventure that’s as rewarding as it is delicious.
🌟 Why This Recipe Works
- Flavor Depth: The combination of garlic and scallions creates a layered aromatic base that penetrates every bite, while the olive oil adds a subtle fruitiness that balances the earthiness of cauliflower.
- Texture Harmony: The batter forms a crisp exterior that gives way to a tender, almost melt‑in‑your‑mouth interior, delivering a satisfying contrast that keeps you reaching for more.
- Ease of Execution: With just a handful of pantry staples and a simple mixing bowl, you can whip up these fritters in under an hour, making them perfect for busy weeknights.
- Time‑Saving Flexibility: The recipe tolerates a short prep time and can be scaled up or down without sacrificing quality, so you can adapt it to any number of guests.
- Versatility: Serve them with yogurt, sour cream, or a spicy aioli, and they transform from a light snack to a hearty side dish in an instant.
- Nutrition Boost: Cauliflower is low in calories but high in fiber and vitamin C, while whole‑wheat flour adds a modest amount of protein and complex carbs.
- Ingredient Quality: Fresh, locally sourced cauliflower and scallions bring vibrant color and flavor, making each fritter look as good as it tastes.
- Crowd‑Pleasing Factor: The golden crust and familiar flavors appeal to both kids and adults, ensuring that even picky eaters will be delighted.
🥗 Ingredients Breakdown
The Foundation
The star of the show is, of course, cauliflower florets. Fresh, firm cauliflower provides a subtle sweetness and a tender bite that holds up beautifully when fried. Look for heads that are white, dense, and free of brown spots; the tighter the florets, the better the texture. If you can, choose a locally grown variety for the freshest flavor, but frozen cauliflower works in a pinch—just thaw and pat dry thoroughly. The cauliflower’s natural moisture is key to creating a light, airy interior once it’s encased in the batter.
Aromatics & Spices
Garlic and scallions are the dynamic duo that infuse the fritters with a punch of flavor. Minced garlic releases its pungent oils when sautéed, adding depth without overwhelming the cauliflower’s delicate taste. Scallions, with their mild oniony bite and bright green tops, bring a fresh, slightly sharp contrast that lifts the whole dish. If you’re out of scallions, a blend of finely chopped green onions and a pinch of chives works just as well. Remember, the key is to keep the aromatics finely minced so they integrate seamlessly into the batter.
The Secret Weapons
Flour—whether you opt for whole‑wheat for a nutty flavor or all‑purpose for a lighter texture—acts as the binding agent that holds the batter together. Whole‑wheat adds a wholesome, earthy note and a slight chew, while all‑purpose keeps the fritters airy and delicate. Eggs provide structure and moisture, creating a cohesive mixture that doesn’t fall apart in the pan. If you need a vegan alternative, a flax‑egg (1 tablespoon ground flaxseed mixed with 3 tablespoons water) mimics the binding properties nicely.
Finishing Touches
Olive oil is the cooking medium of choice, delivering a fruity richness that enhances the overall flavor profile. Use a light‑to‑medium olive oil to avoid a burnt taste at high heat. For serving, a dollop of yogurt or sour cream adds a cool, tangy contrast that balances the fritters’ richness. You can stir in a pinch of lemon zest or fresh herbs into the yogurt for an extra layer of brightness. This simple garnish turns a humble fritter into a restaurant‑worthy plate.
With your ingredients prepped and ready, let's get cooking. Here’s where the fun really begins, and I’ll walk you through each step so you can achieve that perfect golden crust and fluffy interior without any guesswork.
🍳 Step-by-Step Instructions
Start by bringing a large pot of salted water to a gentle boil. Add the cauliflower florets and blanch them for just 2‑3 minutes—just enough to soften them slightly without cooking them through. Drain the cauliflower in a colander and immediately run it under cold water to stop the cooking process; this keeps the florets bright and crisp. Pat them dry with a clean kitchen towel, because any excess moisture will make the batter soggy later on.
While the cauliflower cools, whisk together the flour, a pinch of salt, and a dash of black pepper in a medium bowl. If you’re using whole‑wheat flour, consider adding a tablespoon of cornstarch to keep the batter light. Create a well in the center and crack in the eggs, beating them until the mixture is smooth and glossy. The eggs act as a binder, creating a cohesive batter that will cling to the cauliflower without falling apart.
Now, finely mince the garlic and slice the scallions (both white and green parts). Toss them into the batter, stirring gently so the aromatics are evenly distributed. This is the step where the fragrance really starts to develop, and if you’re lucky, you’ll already smell the garlicky goodness wafting from the bowl. Add the blanched cauliflower florets, folding them in with a spatula until every piece is lightly coated. The batter should be thick enough to hold the cauliflower together but still loose enough to spoon into the pan.
Heat a large non‑stick skillet over medium‑high heat and add a generous drizzle of olive oil—about 2‑3 tablespoons, enough to coat the bottom. When the oil shimmers and you see a faint ripple, it’s ready. Using a tablespoon or small ice‑cream scoop, drop dollops of batter into the pan, spacing them about an inch apart. You’ll hear a gentle sizzle as the batter hits the hot oil, and the edges will begin to turn opaque within seconds.
Cook the fritters for 3‑4 minutes on the first side, watching closely for a deep golden‑brown color. When the edges start to bubble and the underside is crisp, flip them carefully with a thin spatula. The second side needs just as much attention—another 2‑3 minutes until the crust is uniformly golden and the interior is cooked through. You’ll know they’re done when a gentle tap on the side produces a hollow sound.
Once all the fritters are cooked, transfer them to a paper‑towel‑lined plate to absorb any excess oil. While they’re still hot, sprinkle a pinch of flaky sea salt over the top; this enhances the flavor and adds a delightful crunch. Serve them immediately with a side of plain yogurt or sour cream, and if you like, stir in a squeeze of lemon juice or a sprinkle of fresh herbs for extra brightness.
Finally, gather everyone around the table and let them dig in. The best part? Watching the smiles spread as the first bite reveals that perfect balance of crunch and tenderness. Go ahead, take a taste — you’ll know exactly when it’s right. And remember, the secret trick in step four (the brief batter rest) is what makes these fritters so airy; try it next time and thank me later!
And there you have it! But before you dig in, let me share some tips that will take this from great to absolutely unforgettable. These insights come from years of trial, error, and a few kitchen mishaps, so you’ll avoid the common pitfalls and elevate every batch.
🔐 Expert Tips for Perfect Results
The Taste Test Trick
Before you commit the entire batch to the pan, fry a single test fritter. This tiny experiment lets you gauge the seasoning, the oil temperature, and the batter’s consistency. If the test fritter is too bland, add a pinch more salt or a dash of smoked paprika. If the crust forms too quickly and the inside stays raw, lower the heat slightly. Trust me, this simple step saves you from a whole tray of under‑seasoned or over‑cooked fritters.
Why Resting Time Matters More Than You Think
Allowing the batter to rest for five minutes after mixing is a game‑changer. During this pause, the flour absorbs the moisture from the eggs and vegetables, creating a smoother, more cohesive mixture. The result? A lighter crumb that doesn’t fall apart when you flip it. I once skipped this step in a rush, and the fritters turned out dense and heavy—lesson learned, and now I never skip the rest.
The Seasoning Secret Pros Won’t Tell You
Professional chefs often finish fried dishes with a finishing salt, like Maldon sea salt, right as they leave the heat. This adds a subtle crunch and a burst of flavor that plain table salt can’t match. A light dusting of smoked paprika or a pinch of cayenne also adds a hidden layer of depth without overpowering the delicate cauliflower. Experiment with these finishing touches and watch your fritters go from good to gourmet.
Oil Temperature Control
Maintaining the right oil temperature is crucial. If the oil is too cool, the fritters will absorb excess oil and become greasy; too hot, and the exterior will burn before the interior cooks. A quick test: drop a tiny piece of batter into the pan—if it sizzles immediately and turns golden within 30 seconds, you’re spot on. Adjust the heat as needed, and you’ll achieve that perfect, even browning every time.
The Power of a Light Hand
When folding the cauliflower into the batter, use a gentle hand. Over‑mixing can develop gluten, leading to a tougher texture, while a light fold keeps the batter airy. Think of it as coaxing the ingredients together rather than forcing them. This subtle technique ensures each fritter retains a delicate crumb that melts in your mouth.
Serving with a Twist
While plain yogurt or sour cream is classic, try mixing in a spoonful of tahini, a drizzle of honey, or a handful of chopped mint for an unexpected flavor pop. The cool, creamy sauce balances the crispness of the fritters and adds a fresh note that brightens the whole dish. I once served them with a cucumber‑dill yogurt that became the star of the night—your guests will be asking for the sauce recipe, too.
🌈 Delicious Variations to Try
One of my favorite things about this recipe is how versatile it is. Here are some twists I’ve tried and loved:
Cheesy Cheddar Crunch
Add a half‑cup of shredded sharp cheddar to the batter before cooking. The cheese melts into the interior, creating pockets of gooey richness, while the crust still stays crisp. This variation is perfect for kids who love a melty surprise.
Spicy Sriracha Kick
Stir a tablespoon of sriracha sauce into the batter and sprinkle a pinch of red pepper flakes on top before frying. The heat builds gradually, offering a gentle warmth that doesn’t overpower the cauliflower’s natural sweetness. Pair it with a cooling cucumber‑yogurt dip to balance the spice.
Herb‑Infused Green Delight
Mix in a handful of finely chopped fresh herbs—like parsley, cilantro, or basil—into the batter. The herbs add a burst of freshness and a vibrant green speckle to each fritter, making the dish visually appealing as well as flavorful. This version pairs beautifully with a lemon‑zest yogurt sauce.
Mediterranean Olive & Feta
Fold in chopped Kalamata olives and crumbled feta cheese for a salty, briny twist. The olives bring a tangy depth, while the feta adds a creamy crumble that contrasts with the crunchy exterior. Serve with a drizzle of olive oil and a sprinkling of oregano for an authentic Mediterranean vibe.
Sweet Potato Fusion
Swap half of the cauliflower for grated sweet potato. The natural sweetness of the potato pairs wonderfully with the savory batter, creating a beautiful orange‑gold hue. Top with a light maple‑yogurt drizzle for a sweet‑savory harmony that’s perfect for brunch.
Curry‑Infused Surprise
Add a teaspoon of curry powder and a pinch of turmeric to the flour mixture. This gives the fritters an exotic aroma and a warm, earthy flavor profile. Serve with a mango‑chili chutney for an exciting contrast that will wow your guests.
📦 Storage & Reheating Tips
Refrigerator Storage
Allow the fritters to cool completely, then place them in an airtight container lined with a paper towel to absorb any residual oil. Store in the refrigerator for up to three days. When you’re ready to eat, reheat them in a hot skillet with a splash of olive oil for 2‑3 minutes per side, or pop them in a preheated oven at 350°F (175°C) for 10 minutes to revive the crispness.
Freezing Instructions
For longer storage, arrange the cooled fritters on a parchment‑lined baking sheet and freeze until solid (about 2 hours). Transfer the frozen fritters to a zip‑top freezer bag, removing as much air as possible. They’ll keep for up to two months. To reheat, bake them straight from the freezer at 400°F (200°C) for 12‑15 minutes, turning halfway through for even browning.
Reheating Methods
The secret to reheating without drying out is a splash of liquid—either a drizzle of olive oil in the pan or a few drops of water in the oven. This creates steam that revives the interior while the oil restores the crisp exterior. Avoid microwaving if you can; the microwave makes the crust soggy, whereas a quick pan‑sear or oven bake preserves the beloved crunch.